Web Layout in Dreamweaver
February 10, 2014 § Leave a comment
Thinking & Practice Tutorial 10/02/14
In this session today we looked how to create a basic web layout in Dreamweaver.
We started of by creating a new html page, which was split into two – between design and code. One section would be the coding for the website and the other is the content. Before we started we needed to create a folder and tell Dreamweaver where our folder was located otherwise there would be a problem with links.
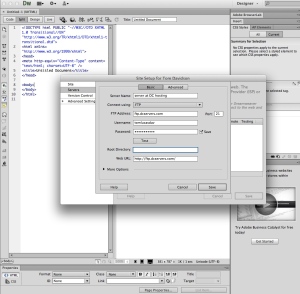
If paying a host to set up the website then you need to set up your remote server. To do this you have to connect using FTP (File Transfer Protocol) which transfers files from one computer to another. The FTP address will be given by the host. Once this is set up you can sync your files to those on the internet and they will then be made visible for anyone who accesses the website to see.
Note: You don’t have to use Dreamweaver to create the coding, you can use other programmes such as Text Edit or any other note based software, and save/export using “.html” – this can be used to set up the basics.
In the code section there will already be a standard set of codes. The “Head” section is for non layout/visual aspects of site. Actual website content goes between “Body” tag. The split screen allows you to type into the actual body and it will sync to the code. The recommended style of html is CSS. You can alter background colour using hexidecimal coding (Not RGB or CMYK) which is a way of programming colour (#ffffff = white, #000000 = black, and so on). Semicolons are crucial to let the programme know when you have finished talking about that colour. To link the CSS to the html you need to attach the style sheet. Save both the style sheet and html into the folder.
Next week we will continue looking at the different things you can do with code and layout in Dreamweaver.


Leave a comment